How to Use Screen Capture
Audio Notetaker has the ability to capture screen shots from any window on your computer.
Used in conjunction with recording your audio output from your computer will allow you to work with on-line presentations the same way you do with live presentations.
Due to memory limitations in Windows we recommend keeping the total number of images in an Audio Notetaker project at around 100.
https://youtu.be/aETFA-EXa8I
Select the camera button (Capture) from the toolbar

This brings up a window frame;
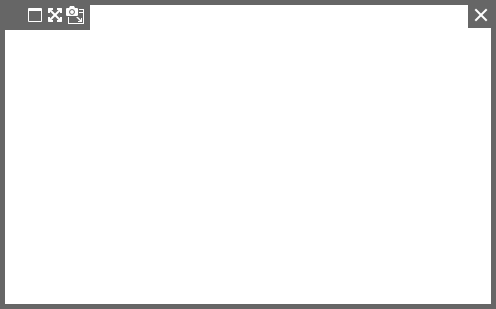
The window frame will remain visible above all windows while open.
With the Screen capture Window open, you can grab stills in a number of ways:
Used in conjunction with recording your audio output from your computer will allow you to work with on-line presentations the same way you do with live presentations.
Due to memory limitations in Windows we recommend keeping the total number of images in an Audio Notetaker project at around 100.
https://youtu.be/aETFA-EXa8I
Select the camera button (Capture) from the toolbar
This brings up a window frame;
- This window frame can be dragged around your workspace.
- The window can be resized by clicking on the frame itself and resizing as needed.
- The window icon will re-size the frame to cover your top-most window.
- The crossed arrows icon will expand the window to fill your entire screen.
- The camera icon will capture a still image from the frame and post it into a new section of Audio Notetaker. If you are recording the audio at the same time then the audio recording will continue in the new section.
- The cross icon will end the Screen Capture.
The window frame will remain visible above all windows while open.
With the Screen capture Window open, you can grab stills in a number of ways:
- As above, the camera icon on the frame will capture the screen.
- The Insert Section Break Button, on the main Audio Notetaker tool bar, will change and allow you to grab your still images.
- You can use ENTER.
- and you can use Shift+Print Screen or Ctrl+Shift+Print Screen - we have included both as you may have other applications that also use these shortcuts.